Board, List, and Timeline Views
Switch between kanban board, list, and timeline views to see your issues the way you work best.
Clave gives you three ways to look at issues: a kanban board, a flat list, and a timeline. Each view shows the same issues — you can switch between them at any time without losing data.
Switching views
Click the Display button (gear icon) in the issues toolbar and select Board, List, or Timeline from the layout switcher at the top of the panel. Your choice is remembered for each view context.
You can also press Shift+V to open the Display options panel quickly.
Board view
The board displays issues as cards arranged in columns. By default, columns represent issue statuses.
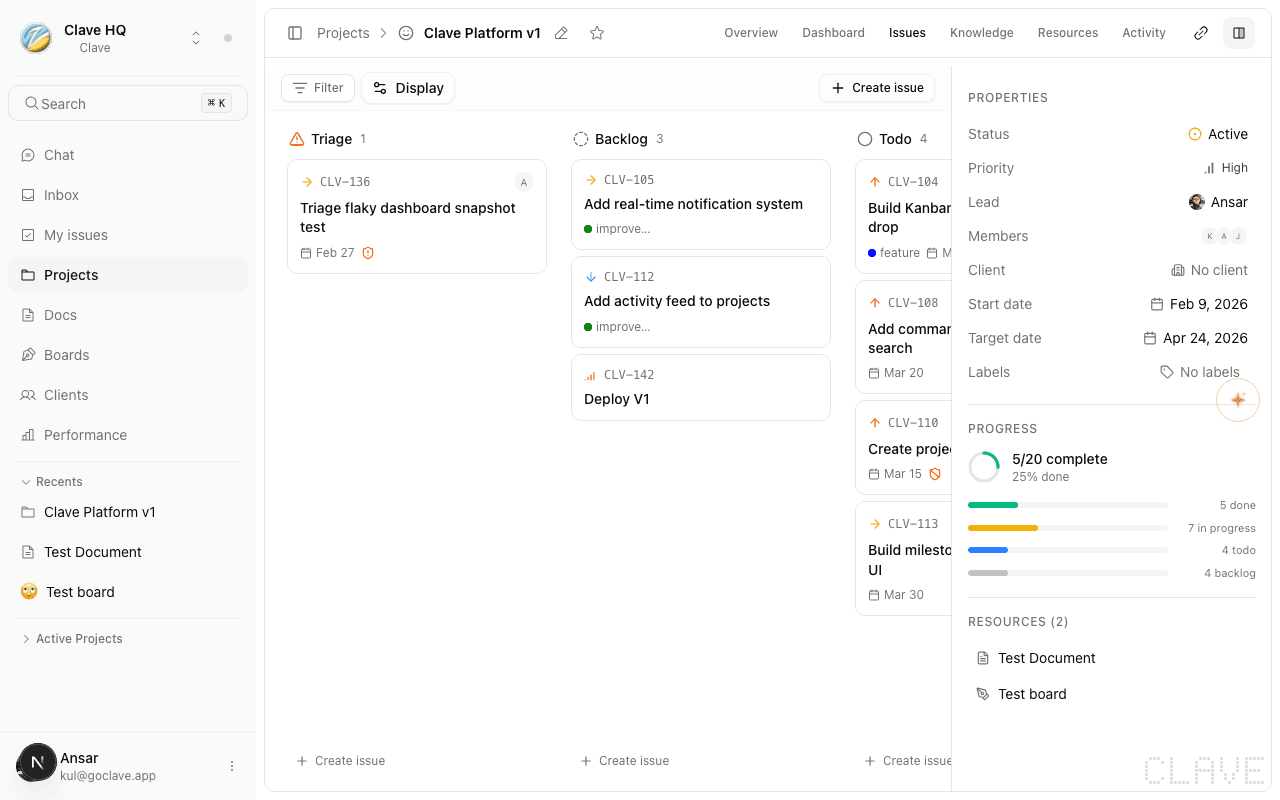
Columns and statuses
Each column corresponds to a status: Triage, Backlog, Todo, In progress, In review, Done, and Cancelled. Issues move between columns as their status changes.
Moving issues
Drag an issue card from one column to another to change its status. The change saves automatically.
Swimlanes
In board view, you can add a second layer of grouping called swimlanes. Open the Display panel and change the Swimlanes option to group cards by:
- Assignee — Each row shows one team member's cards.
- Priority — Rows separate urgent, high, medium, low, and no-priority issues.
- Sprint — Rows show issues per sprint cycle.
- None (default) — No swimlane grouping.
Adding issues from the board
Click + at the bottom of any column to create a new issue with that column's status pre-set.
List view
The list view shows issues in rows, making it easy to scan and sort large numbers of issues.

Sorting
In list view, you can sort by:
- Manual — Drag rows to reorder manually.
- Status — Alphabetical by status name.
- Priority — Highest priority first.
- Created — Newest first.
- Updated — Most recently modified first.
- Due date — Soonest due date first.
Click the direction toggle next to the ordering selector to switch between ascending and descending.
Grouping
Open the Display panel and change the Grouping option to group issues by status, priority, assignee, project, or sprint. Add a second level with Sub-grouping.
Display properties
Choose which columns appear on each issue row. Toggle individual properties on or off in the Display properties section of the Display panel:
- Identifier
- Priority
- Status
- Labels
- Assignee
- Project
- Sprint
- Estimate
- Due date
- Created date
- Updated date
Show sub-issues
Enable Show sub-issues in the Display panel to display child issues inline beneath their parent in the list.
Timeline view
The timeline shows issues plotted on a horizontal Gantt-style chart based on their due dates and estimated durations.

Reading the timeline
Each issue appears as a bar spanning from its start context to its due date. Issues without dates appear as markers at the current date.
Adjusting dates
Click and drag the edges of an issue bar to extend or shorten its duration. Drag the middle of the bar to shift the entire date range.
Grouping in timeline
The timeline respects the same grouping options as the list view. Group by assignee to see each team member's workload across time, or group by sprint to visualize sprint scope.
Display options reference
| Option | Description |
|---|---|
| Layout | Board, List, or Timeline |
| Grouping | None, Status, Priority, Assignee, Project, Sprint |
| Sub-grouping | Secondary grouping dimension (appears when grouping is active) |
| Ordering | Manual, Status, Priority, Created, Updated, Due date |
| Swimlanes | Board-only second axis: None, Assignee, Priority, Sprint |
| Show sub-issues | Display child issues inline |
| Show empty groups | Show or hide groups with zero issues |
| Reset | Return all options to defaults |